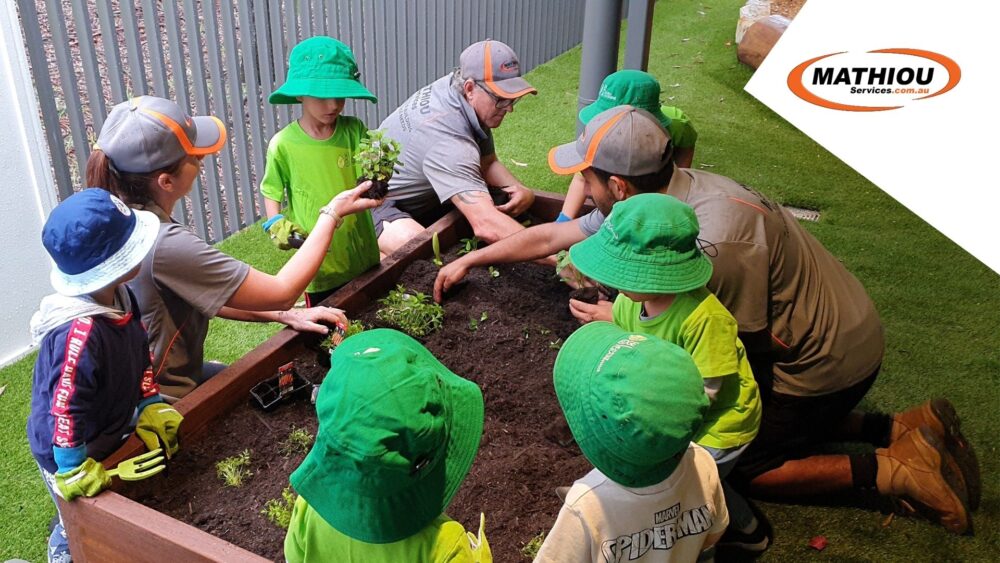
We recently got the opportunity to show the kids how to plant vegetables after building a couple of garden beds for the kids at Edge Early Learning-Kelvin Grove.
There are many benefits to gardening with children one of which is the joy it brings to kids as they get to play and learn at the same time.
Mel, Anthony (from Mathiou Services), and Miss Kitty (Edge Early Learning- Kelvin Grove’s Leading Educator) talked the kids through the basic steps of planting the vegetables:
- Dig the hole,
- Plant the plant,
- Cover with soil,
- Water plants
It was important to break it down into little steps to allow the children to fully understand and follow the process. Once they repeated it at least twice or watched they could do it on their own.
The great part of gardening is the wide range of discussions that can be built as a result. Discussions turned from:
- the types of plants we were planting to finding out what colour the various vegetables are now vs. what they would be,
- how they smelt (especially the mint)
- what vegetables they liked (carrots were top).
We even discussed the basic plant cycle. It’s amazing what discussions can come out of gardening with children and what they can learn as a result.
The kids later explored this further with their amazing chef by going over various vegetables that would be served in their lunches.
Installing your plant-a-boxes
When looking at locations in an existing yard for the garden bed we were looking for places that:
- Was not going to be in the direct walking pathway or block any emergency exits
- It had to be 1m away from any fence perimeter to ensure it didn’t breach code and little explorers cant use it to climb up (and over)
- Plants – we knew they wanted vegetable gardens. We also know that different types of plants require a different amount of sun to shade ratio so we look at each locations sun
- Size – this was important you don’t want it too wide that kids can’t reach or too narrow that you won’t fit many plants
- Aesthetics – when putting a plant a box into an existing area you want it to look like it fits so it works with the day-to-day of your operations
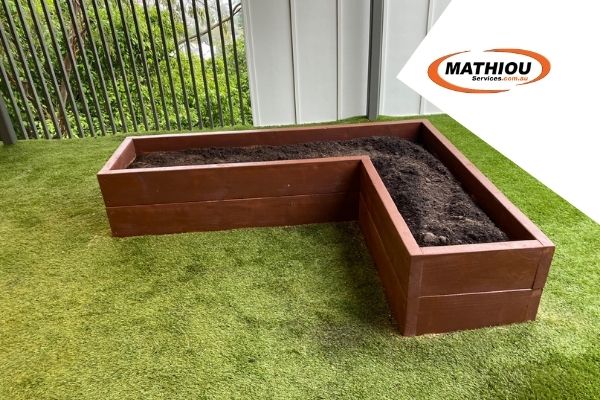
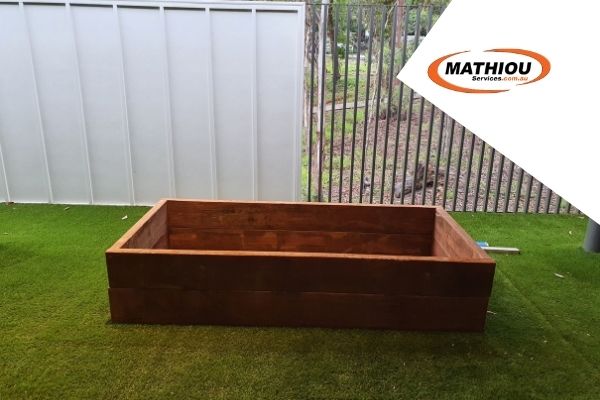
How to build a rectangle garden bed
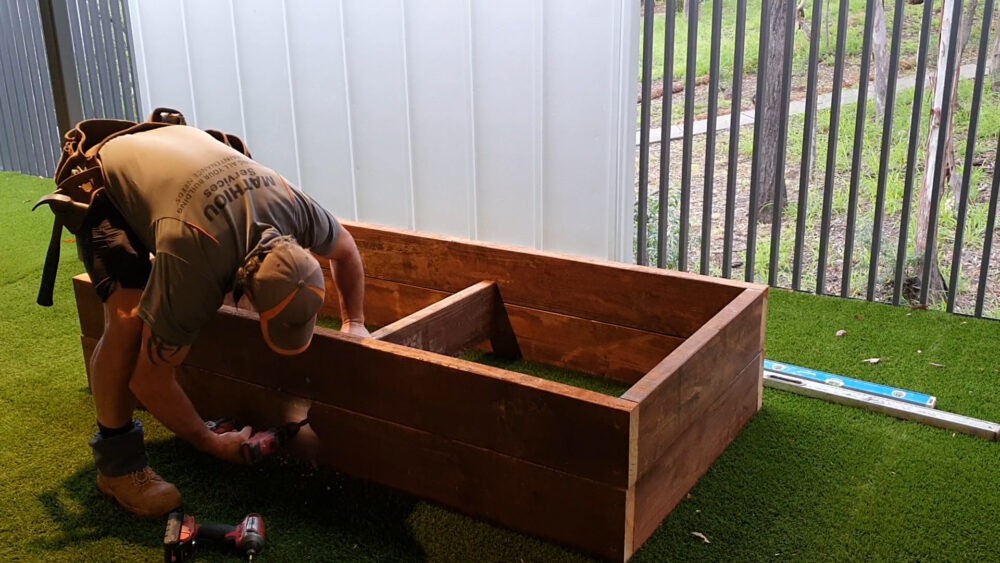
For Edge Early Learning – Kelvin Grove we chose an ‘L’ shaped garden bed that got full sun. And a rectangle garden bed that could easily host 10 children at a time and was great for your greens that didn’t require all-day sun and would thrive better with little wind. Here’s how to build your very own rectangle garden bed:
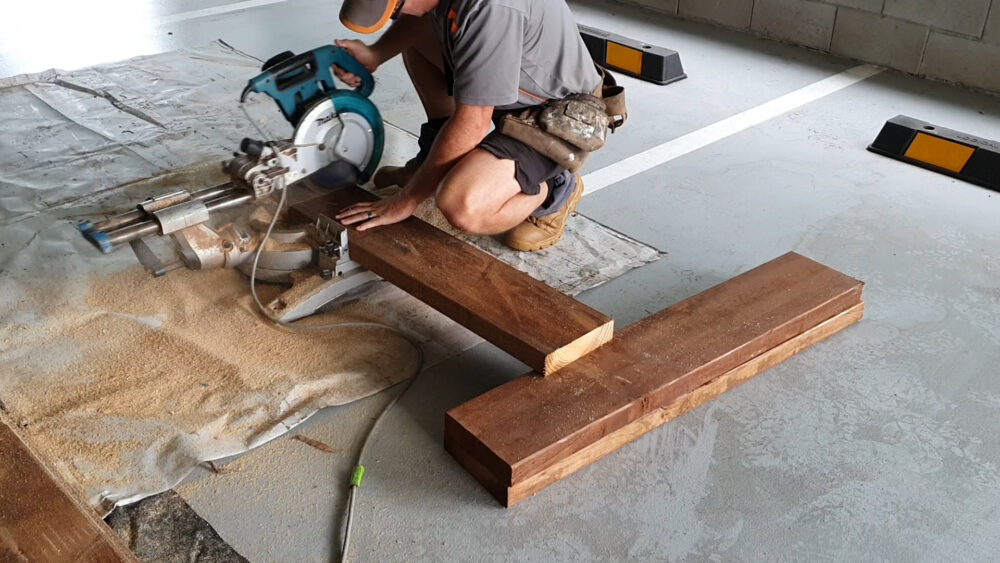
- Pre-Measure and cut the timber – 4 x 1m in Length and 4x 2m in length to make a ground-level rectangle garden bed. And one other timber the length to fit inside (1m minus two times the depth of your timber/ the gap between your two lengths of your garden bed (for example the timber we use is 40mm thickness so this timber is 820mm in length)) (tip: measure twice, cut once)
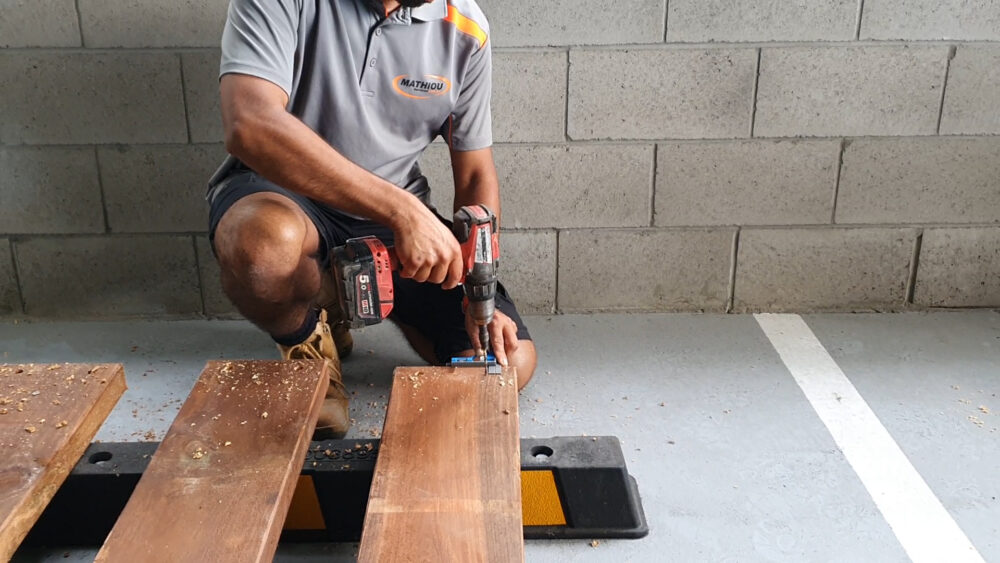
- Pre-drill two holes into each corner of the timber, 40mm from edges (except your smaller one)
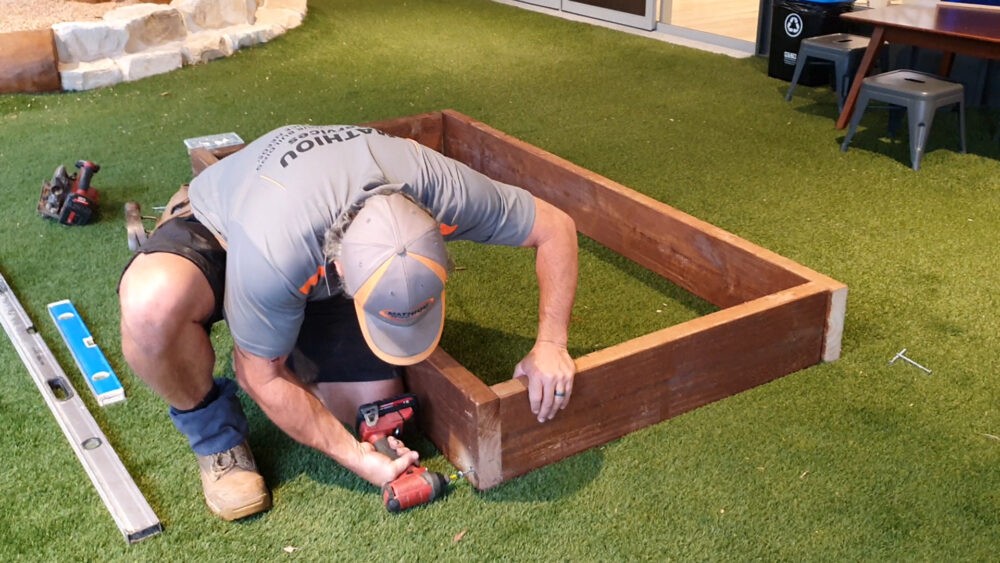
- Place the timber into place, ready to drill the nails into them and form a rectangle
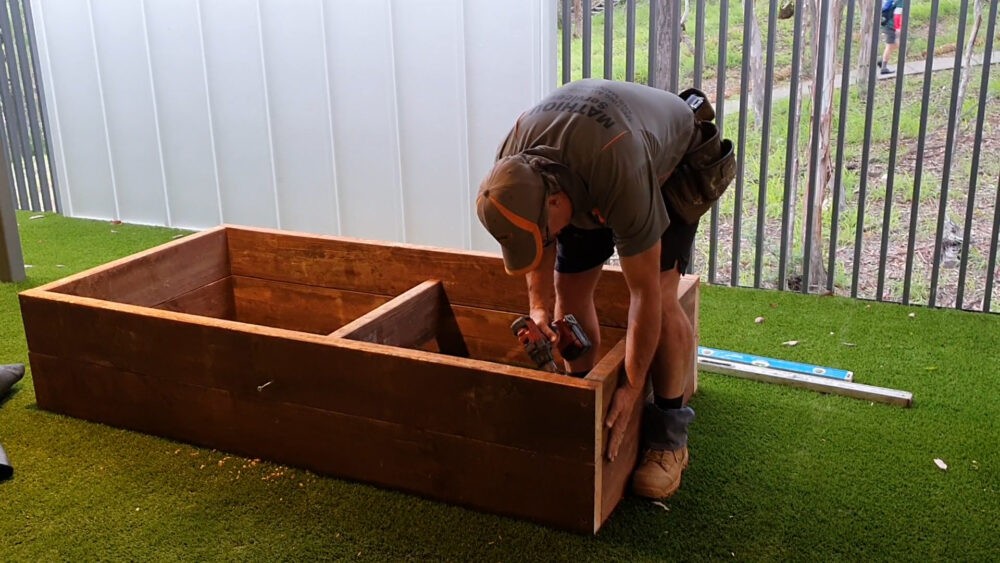
- Repeat number 3, until you have 2 rectangles
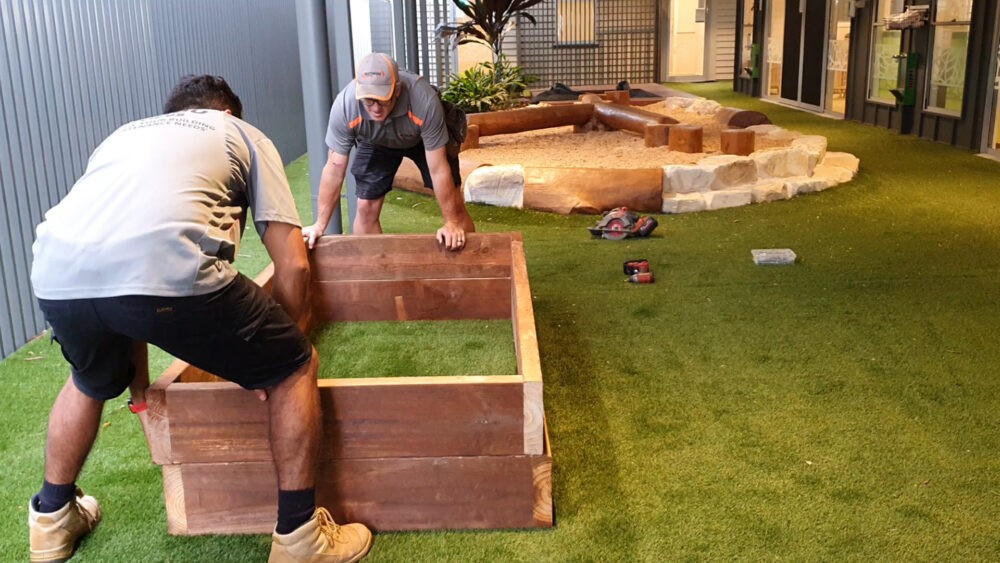
- Stack rectangles on top of each other, make sure its level, and put them in your desired location for the garden bed. Note: once it’s here it won’t be able to be moved
- Take the 820mm timber and place it in the middle of the two rectangles center to the rectangle garden bed so it holds the two rectangles together. Nail this panel in place so it secures the two boxes together.
- Carefully drill a 25-degree hole into all four corners so that you secure the top posts to the bottom, be careful that it doesn’t go through the outside of the timber
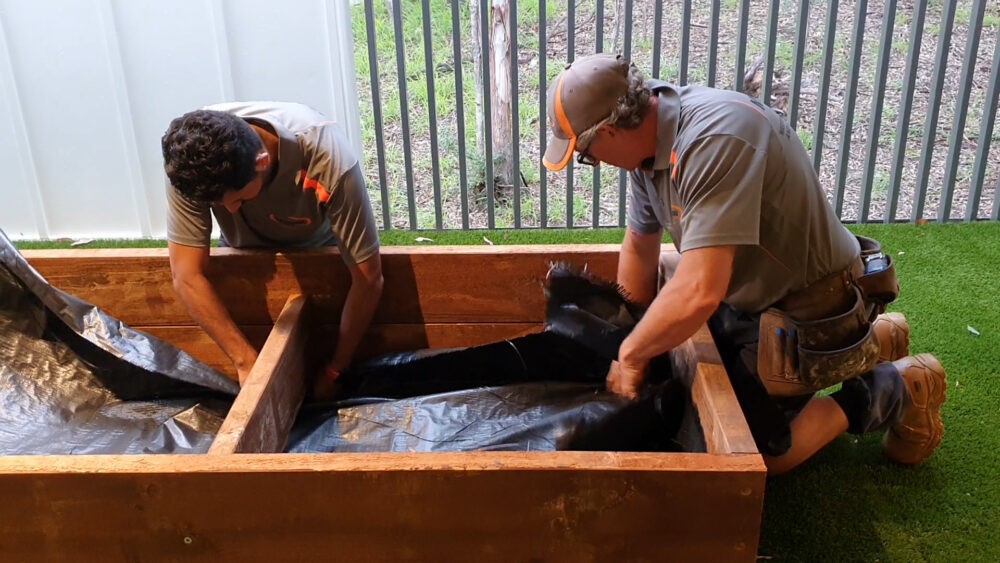
- Lay weed matt on the bottom of the box, up the sides, and tac in with short 20mm nails
- Sand timber back ready for staining
- Stain timber
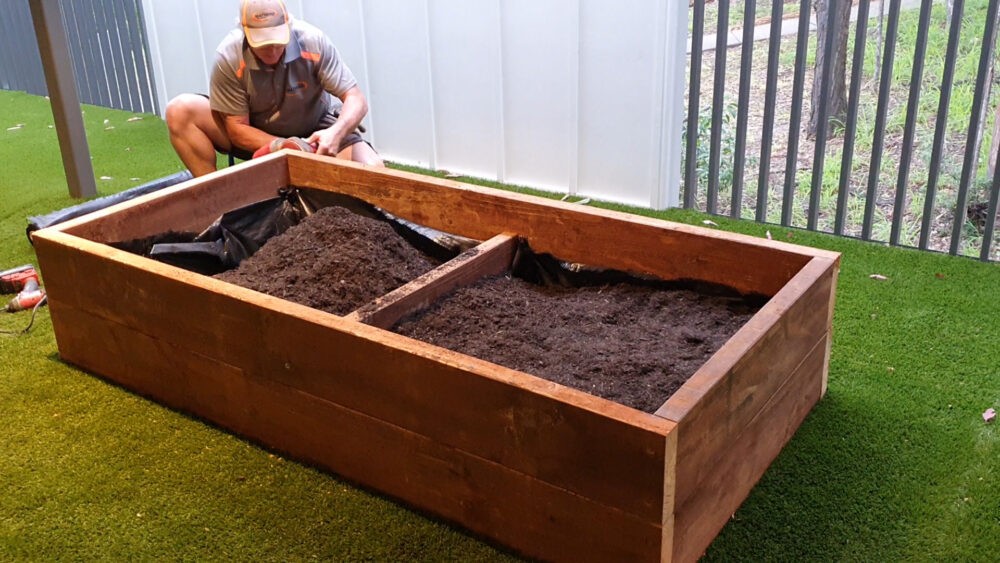
- Fill with the right soil for the plants, and add mulch if required – see best soils for vegetable gardens
Note: Steps 9 and 10 can be done prior to building the garden beds
